Hardness measurement
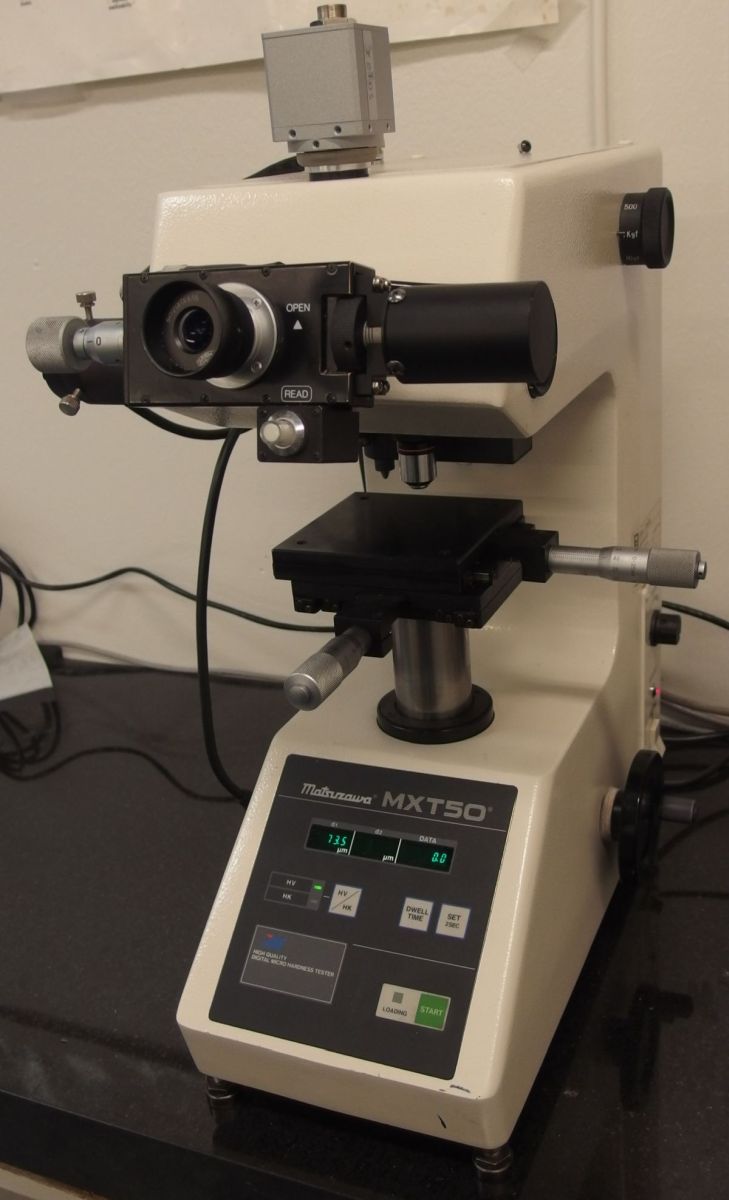
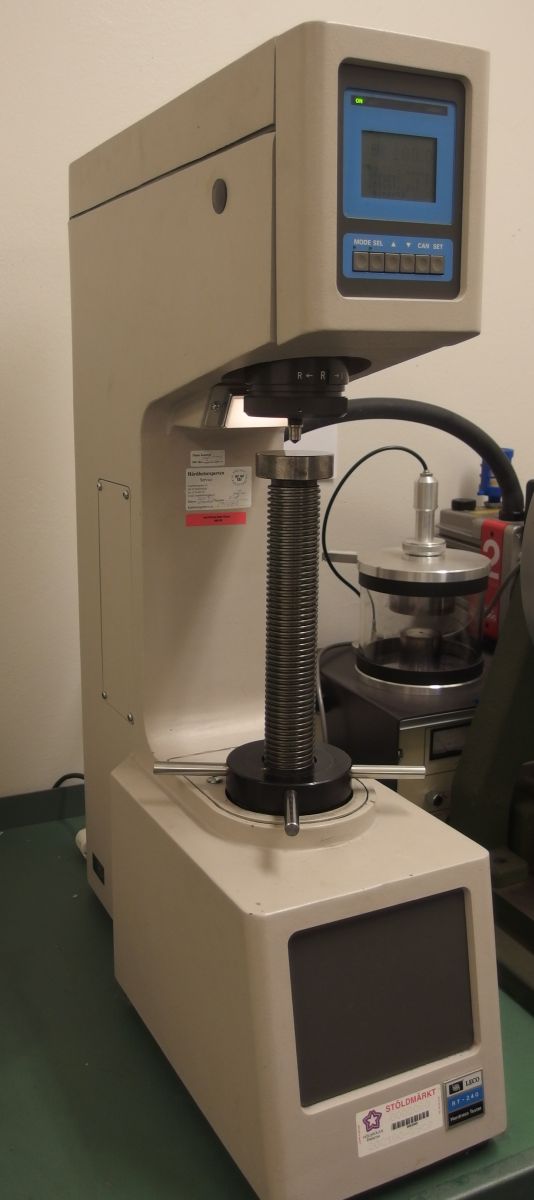
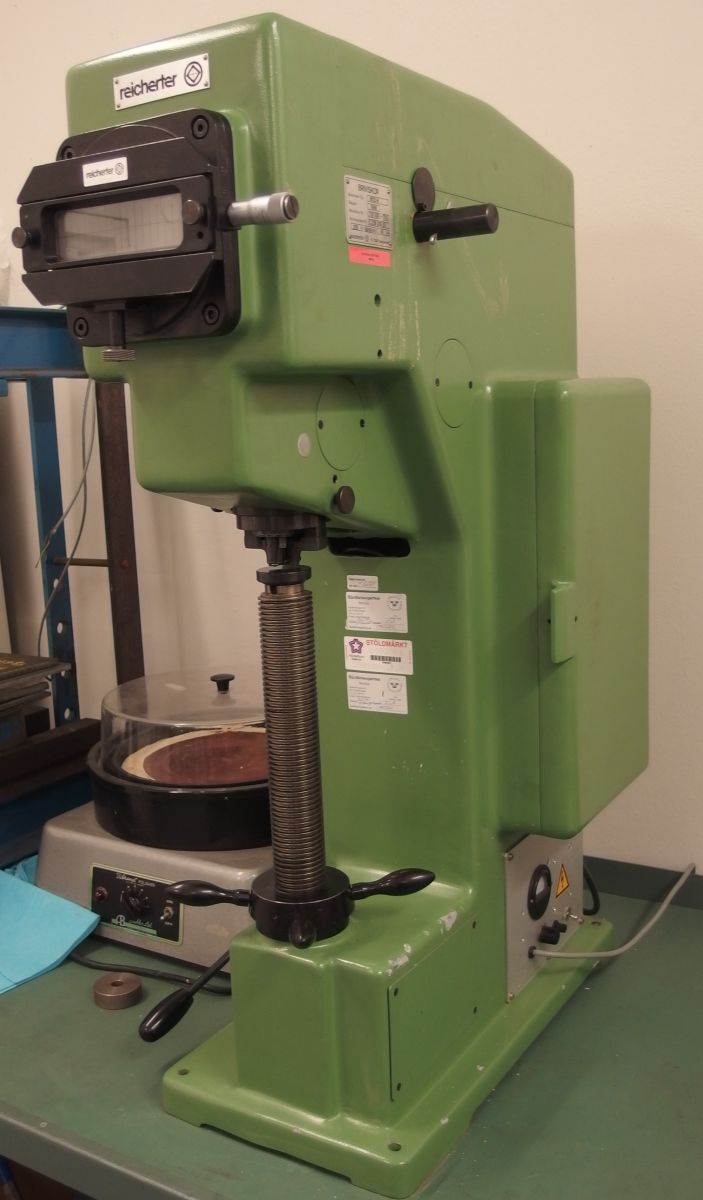
We measure hardness according to different standards and can deliver results in the desired unit. Vi have experience from measurements of different materials and can measure hardness of almost everything from big details to small flakes/pieces of components which are only a few millimeters in size. We can also measure hardness of coatings and thin layers.
The most common methods are:
- Vickers hardness
- For Vickers hardness measurement a pyramid-shaped diamond indenter (with an angle of 136°) is used to make indents with a defined load. The length of the two diagonals is measured and used to calculate the Vickers hardness (HV). Together with the measured value also the used load is stated, e.g. 100 HV10 means a value of 100 Vickers is obtained and a load of 10 kg was used to make the indent.
- Brinell
- For Brinell hardness measurement a metal spheare is used for indentation. The diameter of the indent is measured at two positions in a 90° angle and the mean value and the used load are used to calculate the Brinell hardness (HB). Together with the measured value also the used load and the type of spheare used is stated, e.g. 100 HBW2,5/10 means a value of 100 is obtainedusing a 2,5 mm spheare made of tungsten carbide and a load of 10 kg was used to make the indent.
- Rockwell
- For Rockwell hardness measurement a diamond cone (Rockwell A, C och D) or a steel spheare (Rockwell B, E-H, K) is used. For each scale (A, B, C, etc.) a pre-load and load is defined. Rockwell C is often used to determine the bulk hardness using a pre-load of 10 kg and a main load of 150 kg. First the pre-load is applied and than the main load is applied for a short periode of time. Efter unloading the main load the difference in penetration depth before and after main load is applied is measured. Together with the measured value the testing method and the used scale is stated, e.g. 55 HRC means a value of 55 is obtained according to Rockwell C.
- Shore
- For hardness measurement of rubbers and polymers a shore durometer is used. There are different scales (or types) used where each of them has a specified load and measuring tip to make the indentation. Commonly used scales are Shore A for soft polymers and rubbers and Shore D for harder polymers. For Shore A a 35º truncated steelcone and a load of about 8 N is used while Shore D uses a 30º conical tip and a load of about 44.5 N. Depending on the material hardness different indentation depths are measured, resulting in higher (harder materials) or lower (softer materials) Shore values. With the measured value the used scale is stated, e.g. 85 Shore A or Shore A 85, 85A
Hardness measurement


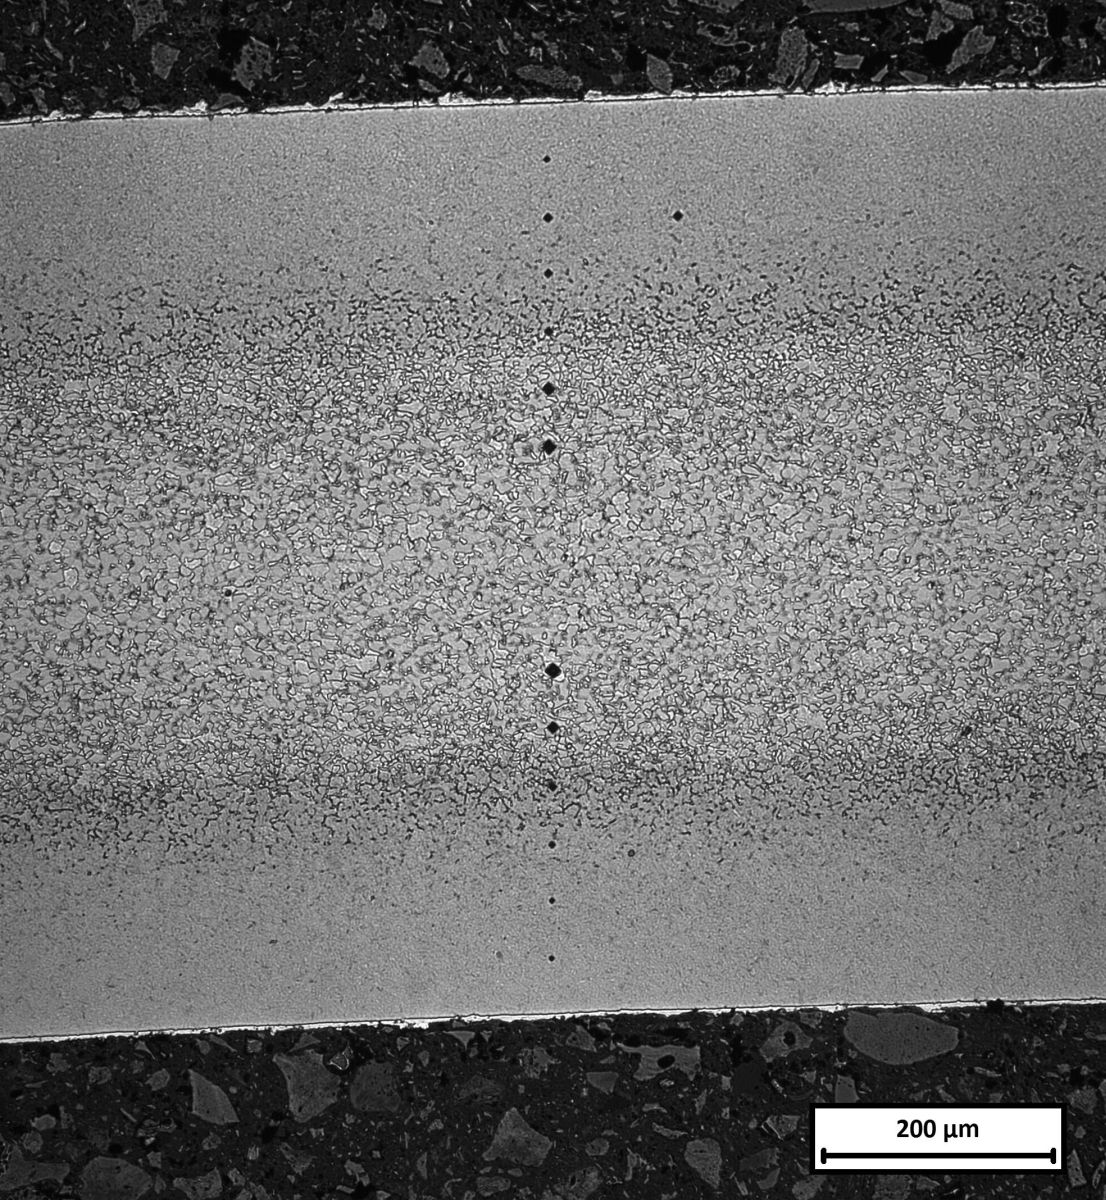
Result (Example)

Hardness measurement with Mikrovickers (indent) on case hardened steel.

