Interference profilometry
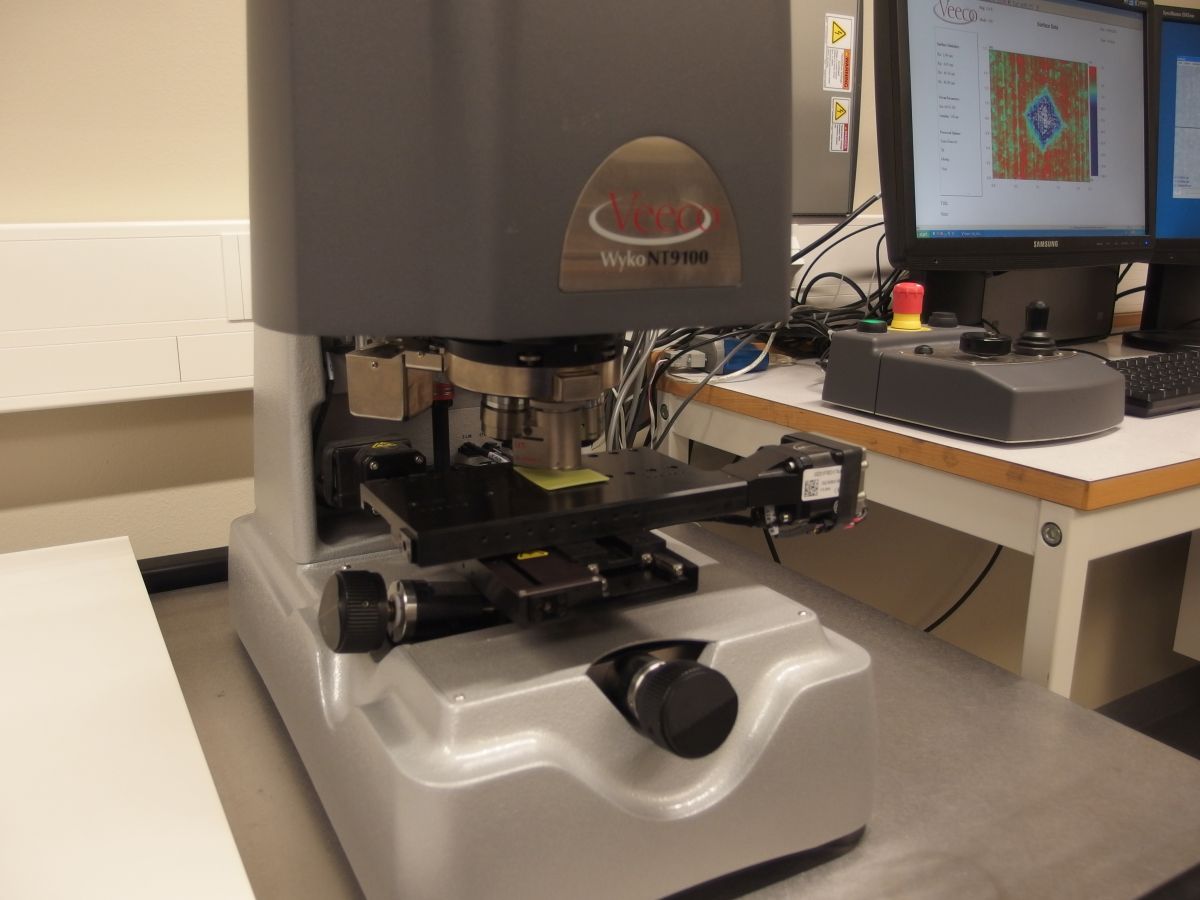
This equipment is used for contactless study of a surfaces topography. White light is focused on a sample and the interference between the reflected light of the sample and a reference surface is measured. By changing the distance to the sample and scanning over an area a 3D image of the surface is created. Typical examples are measurements of surface roughness for machined products, surface profiles as well as depth and size of surface defects or wear damages. It is possible to analyze very smooth surfaces with deviations on nanometer level as well as rough surfaces.

Result (Exampel)

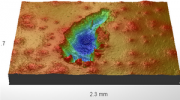
3D-image of indent in painted metal sheet.

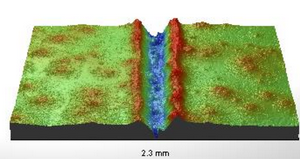
Scratch in metal coated sheet.

